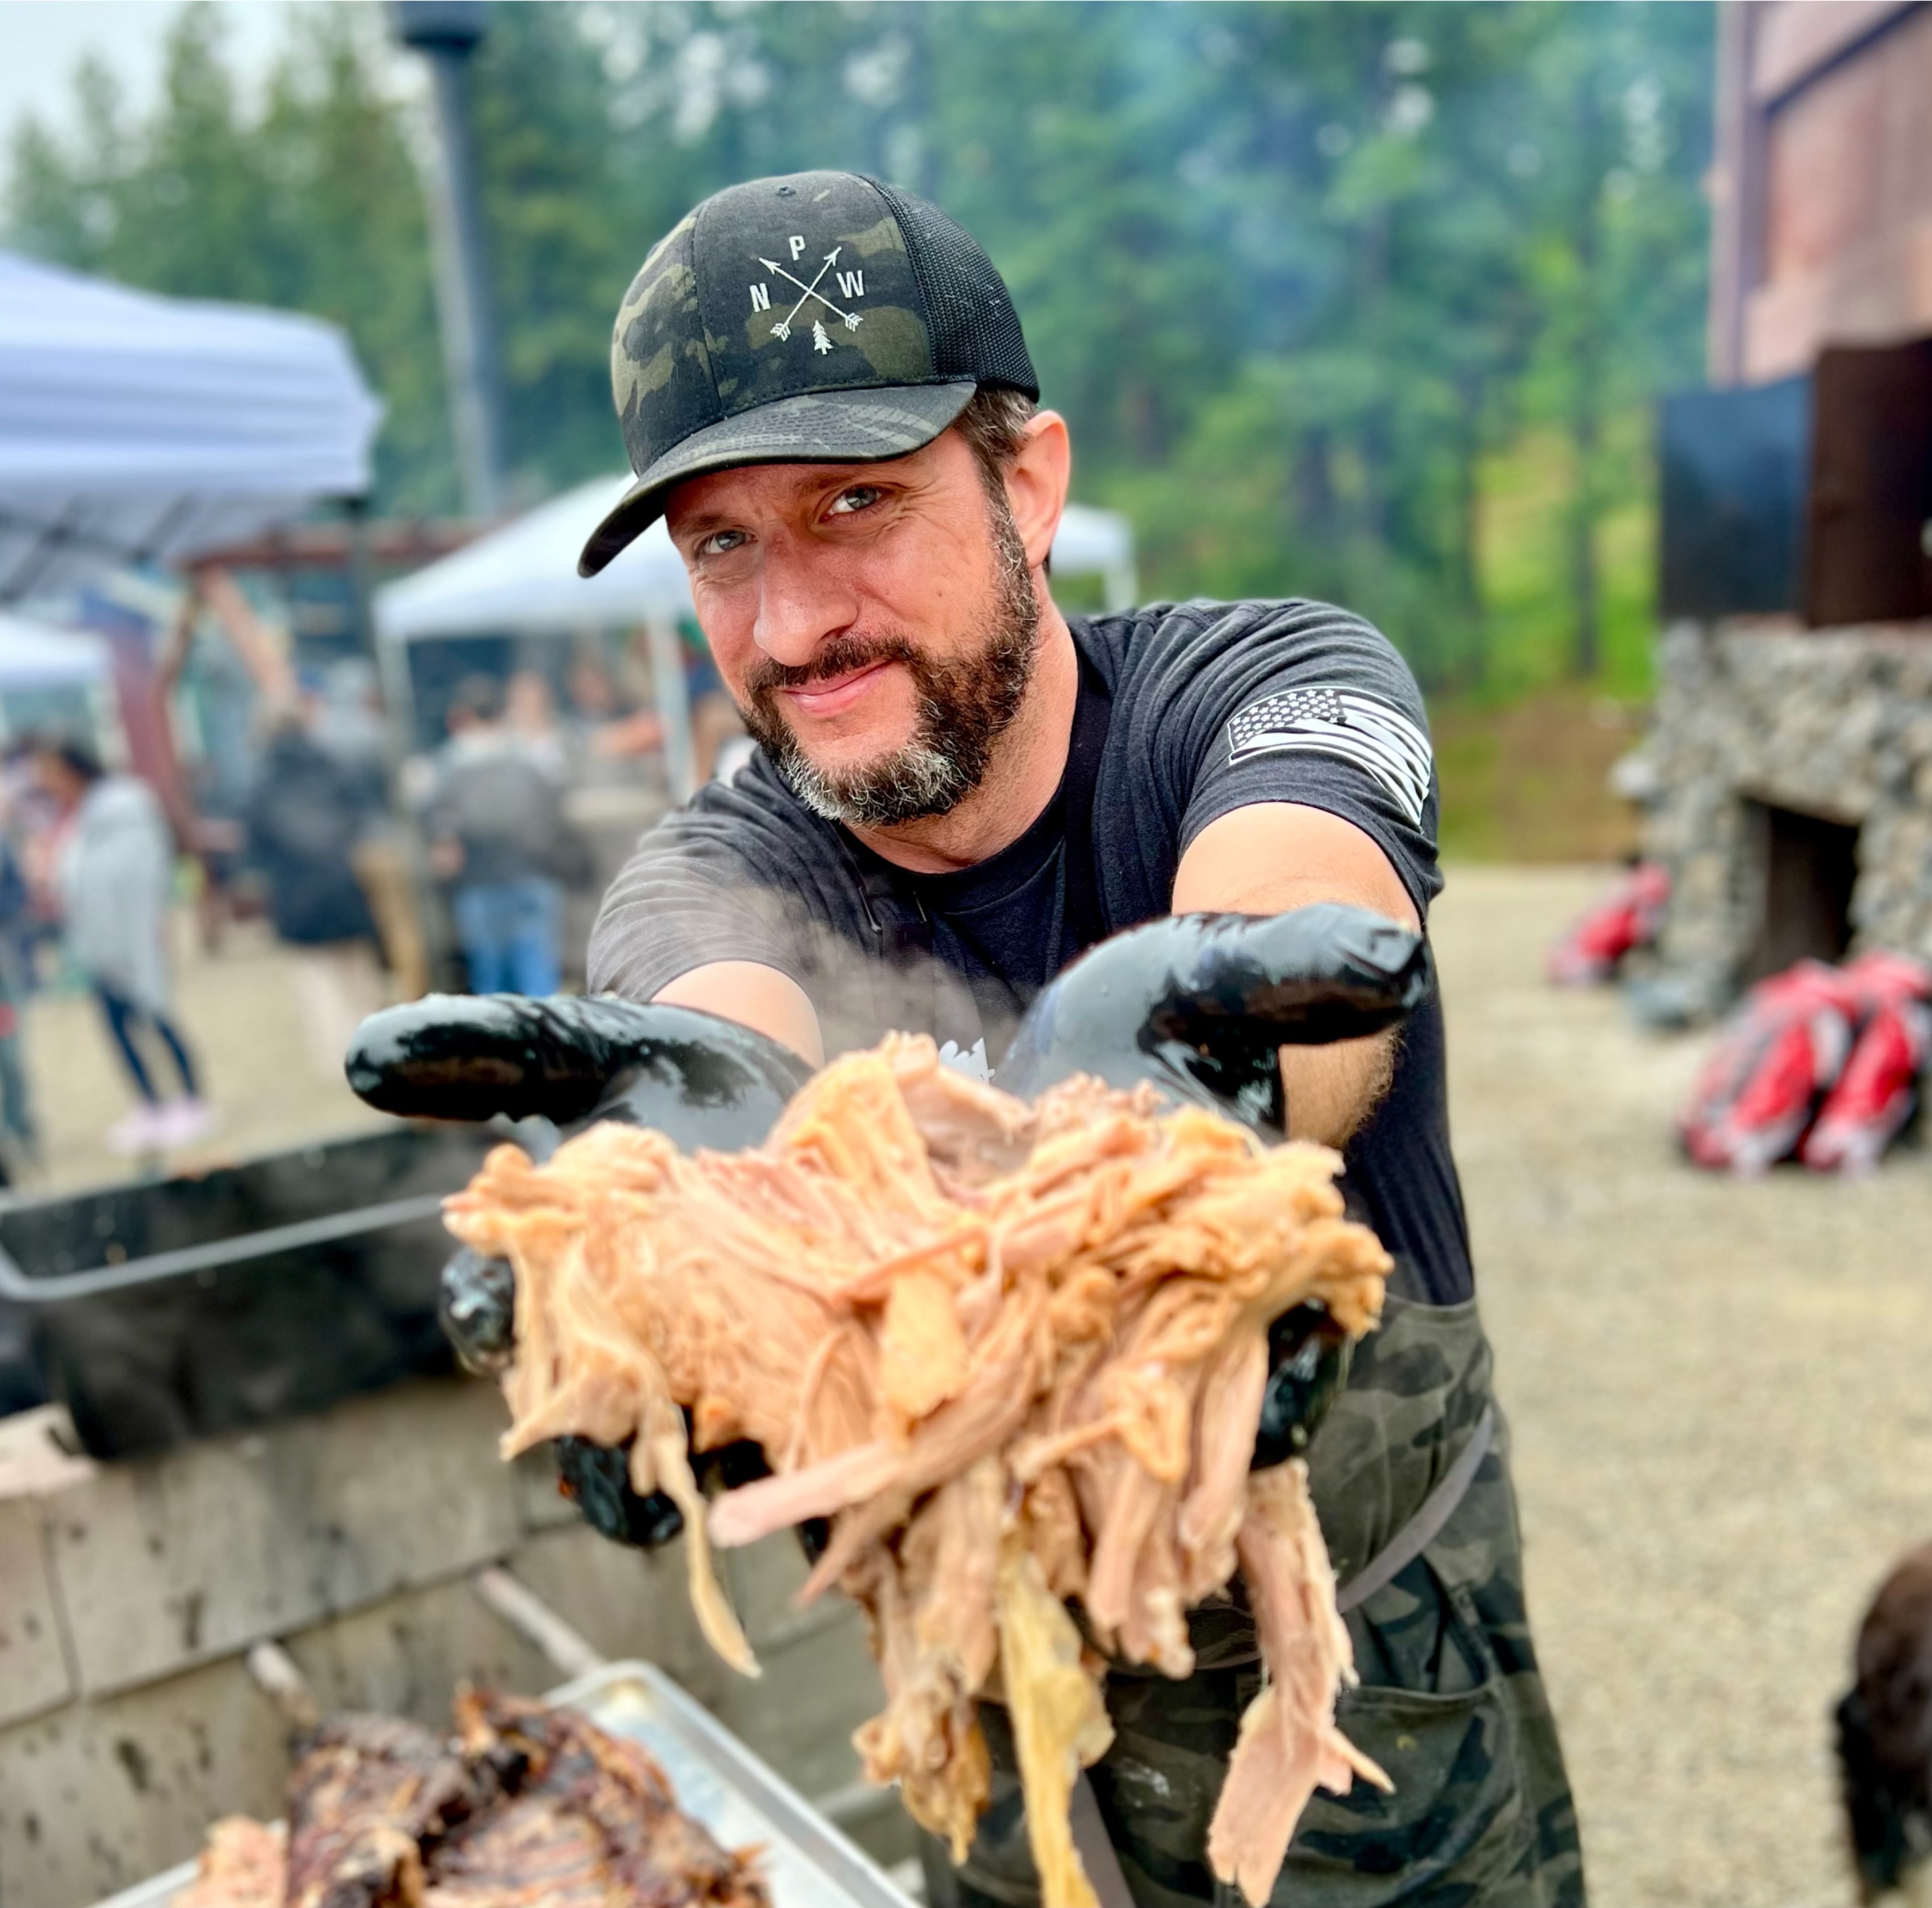
BBQ recipes, product reviews, & how-to's

Tag: turkey

Last-minute Thanksgiving Turkey

Last-minute Thanksgiving Turkey

As you’ve been browsing on social media, you’ve been seeing articles and posts from other people showing off their turkeys: talking about how excited they are for Thanksgiving, how they already bought their turkey, recipes they are trying, the intricate processes they plan on doing,…

How to Spatchcock a Turkey

How to Spatchcock a Turkey

When it comes to smoking a bird, you may of heard some people mention spatchcock. It’s a funny word for sure, but what is it exactly mean? Well, you’ve come to the right place. I’m going to explain the what, why, and how of spatchcocking.…

Smoked Turkey experiment

Smoked Turkey experiment

Note: this smoke originally took place on 11/26/2015 

Smoked Turkeys.
Smoked Turkeys.

I’ve only been smoking for a few months, but foolishly decided to tell my mother-in-law that I will take on making the turkey for Thanksgiving this year. No pressure, just smoke something you’ve never tried for the main dish of the biggest meal of the year. A lot of people have turkey for Christmas as well, so this recipe isn’t just for one day a year. Here’s the recipe I used:

Meat: Two Turkeys  (8.5 lbs. and 14 lbs., respectively)

Brine: 3.5 gallons of water, 2 C kosher salt, 2 C sugar, 2 C apple juice, 1 Jonagold apple (sliced), 2 T rub, 1 T lemon juice; brined in cooler for 24 hours

Wood: Pecan, with a little apple mixed in

Smoke: 260° F for five hours, then had to put in oven at 325° F for 60-90 minutes to reach right internal temp of 165° F.

Since I had never made a turkey before, I learned some things in the prep that you all who are also new to this should know:

1: When shopping for a turkey, look for one with a label that says, “minimally processed” and/or “low solution added”. When talking about low solution, the rule of thumb that experts look for is 8% or less. You get a better quality turkey this way, which means better meat to flavor. If you can’t obtain one of these types of turkeys, it’s not the end of the world. I used one without these labels and it still tasted pretty dang good.

2: The turkey will come frozen from the store, unless you found a fresh one somehow. These things can take a couple of days to thaw out in the fridge (24 hours for each 4-5 lbs.) so be prepared. If you are impatient pressed for time like me, put it in a bucket or sink full of cold water breast side down. Average thawing time is 30 min. per lb. Note: make sure turkey is still in the package while doing this.

3: When opening the package, you may want to do so over a kitchen sink. That way, all the juices/solution/blood don’t end up all over your counter/floor/self.

4: There’s more to the turkey than meets the eye. It’s what’s on the inside. They shoved the turkey neck and a gravy packet up its butt, so you’ll need to get up in there and pull it out. Also, you will want to get into the north end and find the skin flap that opens to a cavity. Dig your hand in there and you’ll find a hidden packet full of giblets, which is a fancy way of saying liver, heart, and other “edible” innards. Don’t worry, you don’t need these and can throw the packet away. That is, unless, you desire these things. We don’t judge here on this website, so do your thing.

5: Brine the turkey, for goodness sake. I’m not fully sure why, but everywhere I’ve read online and folks I’ve talked to with experience say to do it.

A simple, effective brine is made up of 1 gallon of water, 1 cup of kosher salt, and 1 cup of sugar. In hopes to give it more of an apple flavor, I decided to improvise a little and added apple juice, a sliced Jonagold apple, some lemon juice, and some rub I planned on putting on the turkey afterward.

Brine ingredients (sans lemon juice)

 Since I didn’t have room in my fridge, nor do I own a second one with extra space, I went the cooler route for the brining. This meant that I needed to add more water to make sure the birds were fully submerged, which also meant that I needed to add more of the ingredients. To keep the water temp cool, I threw in a bunch of ice cubes and put it outside in the cooler weather (which varied from low 40s to upper 20s over the course of 24 hours). The ice cubes stayed frozen and the water didn’t freeze, which I was happy about.

Time to brine.
Time to brine.

After taking the birds out of the brine, I patted them dry with a paper towel. I poured some olive oil on the turkeys and then generously applied Loot N’ Booty BBQ brand Gold Star Chicken Rub. I let them rest for around 30-45 minutes before putting them in the smoker.

Resting birds about 30-45 minutes before smoking.
Resting birds for 30-45 minutes before smoking.

You can tell it’s cold outside when the temperature gauge on the smoker has a little ice on it, even though it was under a tarp the night before.

Frosty smoker.
Frosty smoker.

After adding a bunch of coals, pecan wood, and apple wood, the smoker reached my desired temperature of 260° F and I placed the turkeys inside, breast side up, and left them untouched for the first two hours. Turkey, like most meats, can dry out during the smoking process. You will want to put a bowl of water inside the smoker to help retain the moisture inside the chamber (you will want to find a small, metal bowl that can withstand the higher temperatures). Since white meat can especially get dry, I put a mixture of apple juice and apple cider vinegar in a spray bottle and spray the birds about once an hour for the next three hours. Otherwise, you will want to keep the lid closed as much as possible.

After five hours, my turkeys hadn’t reached the desired internal temp of  165° F. In fact, they were down around 120° F. Most recipes I’ve seen show it to be almost done by this time. Maybe my temperature gauge on the smoker is lying to me, maybe it’s the 5,000 ft. elevation I’m at, or maybe a little of both. To get the turkeys to their necessary temperature quicker, I took them off the smoker, placed them in a foil pan, double wrapped with heavy duty aluminum foil, and put them in my oven at 325° F. This isn’t what I had originally planned, but desperate times call for desperate temperatures measures.

In the process of wrapping the poultry, I cut up a couple of pounds of butter and distributed one pound over each of the turkeys. I witnessed Aaron Franklin do this in a YouTube video and he explained that since turkey can be bland, adding butter helps keep it juicy and flavorful.

Butter, baby!
Butter, baby!
Now THAT is what I call a butter ball turkey!
In baseball terms, my oven is "the closer" when it comes to finishing smoking some of the bigger meats. A Mariano Rivera, if you will.
In baseball terms, my oven is “the closer” when it comes to finishing smoking some of the bigger meats. A Mariano Rivera, if you will.

After spending just over an hour in the oven at 325° F, the birds finally reach the internal temperature of 165° F. I unwrapped it, let it rest for about 30 minutes, and then start carving away! I have come to learn that I love cutting the white meat way more than the dark meat. Dark meat has is very sinuous and full of bones and can be difficult to cut and pull the meat off of. Whereas the white meat cuts very well and you don’t have to worry about those extra surprises inside. I think I’d much rather eat the turkey legs and wings off the bone itself instead of having to carve them.

The turkeys were a huge hit and I received tons of compliments from the family members who showed up to devour it! Keep the leftovers (if any remain), because it also makes for a very good chicken noodle soup, substituting smoked turkey for the chicken, of course.

I am welcome to any questions or feedback you may have on this, so feel free to post something in the comments!