This smoked brisket recipe has been a work in progress over the years. After many experiments of successes and failures, this smoked brisket recipe has become my go-to. This post is perfect for smoked brisket for beginners.
Ah, brisket. The cut of beef I was so intimidated by when I first started BBQing. Gotta admit, I was working the smoker weekly when I started and it took me months to work up the courage to attempt it. After an experienced friend of mine smoked brisket with me for the first time, it didn’t seem so scary after all. If you are planning your first attempt at this beast of a cut, you’ve come to the right place. Or maybe you’ve smoked your share and are researching different methods, I applaud you for staying sharp in the craft.
I’ve cooked many briskets over the years and done a variety of methods. I love brisket and it may be my favorite cut of beef to do on the smoker. The process will involve some work, patience, and attention to detail. But don’t be intimidated. It’s fun!
The Super-Condensed Version
I’m about to dive into the specifics of each step of the brisket cooking process, but if you want to simply read the summary now and skip down to the recipe at the bottom, well you’re in luck because here it is!
I trim off the silver skin on the non fat side, trim some of the fat off of the skinny sides, especially where the point and flat overlap. When smoking fat side down, trim fat down to about a 1/2 inch. This is because the indirect heat source comes from the bottom and the fat layer on the bottom helps protect the meat from burning. I rub with a S&P based rub, something simple for beef. I don’t go too generous, but cover it enough. Spritz a few times during the cook with beef broth. I measure temps where the point and flat overlap, pulling off when it hits 203 degrees F. Then let it rest for at least 2 hours before slicing. (NOTE: don’t forget you can make brisket burnt ends too!) If you want to read the breakdown, keep going!
How to Trim a Brisket
I have another blog post in which I review this in more detail and you are free to go check it out. For the sake of keeping this post from being a novel, I’ll go over the important points for you to know.
Trim a brisket for multiple reasons: to enhance the smoke penetrating the meat, creating some tasty bark, and removing some thick portions of fat that don’t render. There is one side of the brisket that has a bunch of fat on it, this is called the fat cap. The other side will have some light sections of fat on it, but likely a bunch of silver skin.

If cooking the brisket fat side down (recommended if your indirect heat source comes from the bottom: pellet grills and ceramic grills), then I recommend trimming down to 1/2 inch. I’ve burned the bottom of many a brisket going fat side up because the indirect heat source came from underneath. The heat cooks hotter when its closer to the source. Having the fat on the bottom will act as a protective layer to keep the meat from possibly getting a thin, burnt layer.
If going fat side up, I recommend trimming down to 1/4 inch. The hard fats don’t render, but can add a little flavor to your slices. Smokers like your traditional offsets and drums with deflectors inside them work great for this.
Brisket Trimming Summary

Here are some bullet points to that I elaborate on in my brisket trimming post:
- plan about 20 minutes for trimming
- a boning knife is preferred for the trimming due to the skinny point and curve
- trim fat side down 1/4 inch for cooking fat side up, 1/2 for fat side down
- trim off the light fat and silver skin on other side of brisket. Silver skin will make for a tougher chew and keep smoke from penetrating meat as well.
- don’t cut into the fat that separates the point and the flat
- cut off any little flaps of meat on the brisket. These portions will burn to a crisp due to smoking for many hours
- best to trim brisket straight out of the fridge. Fat will be harder thus easier to trim
Rub and Rest
Now that the trimming is out of the way, we can get to the applying the seasonings, or the rub as us BBQers call it. If using a bottle of rub, it is recommended to go with one that is more savory as compared to the sweet rubs which are great for pork. As for me, I like to go simple with brisket: 3 Tbsp kosher salt, 3 Tbsp ground pepper, and 2 Tbsp garlic powder.
While you may go generous on the rub when doing another meat such as pork shoulder, I like to go modest to medium on brisket to let the natural meat flavor stand out. Make sure to apply rub on all sides of the brisket, even the narrow thin ones. The crust will have good flavor and compliment the real star of the show, the beef.

You can let the beef sit at room temperature for a little while without the risk of contamination (unlike poultry and pork), so feel free to let the meat sit for about 20-30 minutes to let the rub soak in a little before hitting the grill. NOTE: before applying rub and letting meat rest would be a good time to get grill/smoker going.
How Long to Smoke Brisket
Get your heat source for your grill/smoker up to 250 degrees using indirect heat. As far as smoking wood goes, I have a few that I like, such as hickory, pecan, and oak. To stick with traditional Texas-style brisket, let’s go with oak (post oak to be more specific).
Place the brisket on the grill either fat side up or fat side down (I prefer fat side down due to the types of grills I own: ceramic, pellet, and drum smoker. This was explained earlier in the trimming section). I like to put a water pan in the main chamber to help keep the meat from drying out (then again, I do live in a dry, desert climate).
I do like to spritz with Dr Pepper two or three times during the cook. To help the Dr Pepper spray better, open the can hours before spritzing. This helps the soda to go flat and spray better. I love the color it helps impart and the subtle flavor it gives the bark.
What is the Stall?

During the first few hours of the cook, the meat temps will climb quick. Even at the 250F smoking temp, I’ve had briskets go from 50F to 130F internal in three-four hours. You would think with that type of start that you’re on pace to finish in two more hours. But the brisket will eventually hit a point that it’s internal temperature will stop climbing and level out. This is called “the stall”.
The stall usually happens around 160F. To get a deeper dive in the science of it, the folks over at Amazing Ribs have a great article on it. To summarize, the meat starts sweating and the moisture evaporates and cools the meat. With that said, this is about the time I stop spritzing. The internal meat temp will stay leveled out in this zone for hours.
What is the Texas Crutch?
There is a common method to push through this and it’s known as the “Texas crutch”. The Texas crutch is when you wrap the meat in either foil or pink butcher paper to accelerate the temperature the meat is cooking at and giving it no choice but to cook faster.
If going with this method, I prefer the pink (or peach) butcher paper as it allows air flow to go through while still retaining heat. Foil traps the heat and creates moisture inside the cocoon you’ve created and can cause the outside of the meat (aka-the bark) to get soggy and feel like roast beef. If you do go the foil route, I recommend unwrapping during the last hour or so of the cook to help the bark develop.
When is the Smoked Brisket done?

There’s some debate on how to tell when the brisket is done. Some go by time, others by temp, and those who prefer by feel. I recommend temp because it is easier to monitor throughout the process.
On a whole (or packer) brisket, make sure to put the meat probe in the section where the point and the flap overlap. Go halfway in. When the internal temp reaches 203 degrees F, pull off the grill and let the smoked BBQ brisket rest. At first, the temp will rise a few degrees while resting but then start to cool off. Speaking of…
Why You Should Rest a Brisket
Resting the brisket is important to its flavor and texture. Resting helps the meat retain its moisture, which will affect both the texture of the individual slices and their taste. Slicing right after the brisket comes off means the juicy flavor will come running out and all you’re left with is dry brisket. And no one wants dry brisket.
How Long to Rest a Smoked Brisket
Once the brisket has reached it’s finishing temp, wrap the brisket in a towel and place in a well-insulated cooler. This will help keep the brisket moist and at serving temp. It is recommended to keep it like this for at least two hours.
If you are in a hurry, you can rest unwrapped for an hour. It is recommended to rest either in a pan or on a cutting board with juice grooves. This way, you can capture any juices that may still be coming out during the first part of the rest. Remember, the smoked brisket is still cooking internally after it is removed from the grill.
Slicing the BBQ Brisket

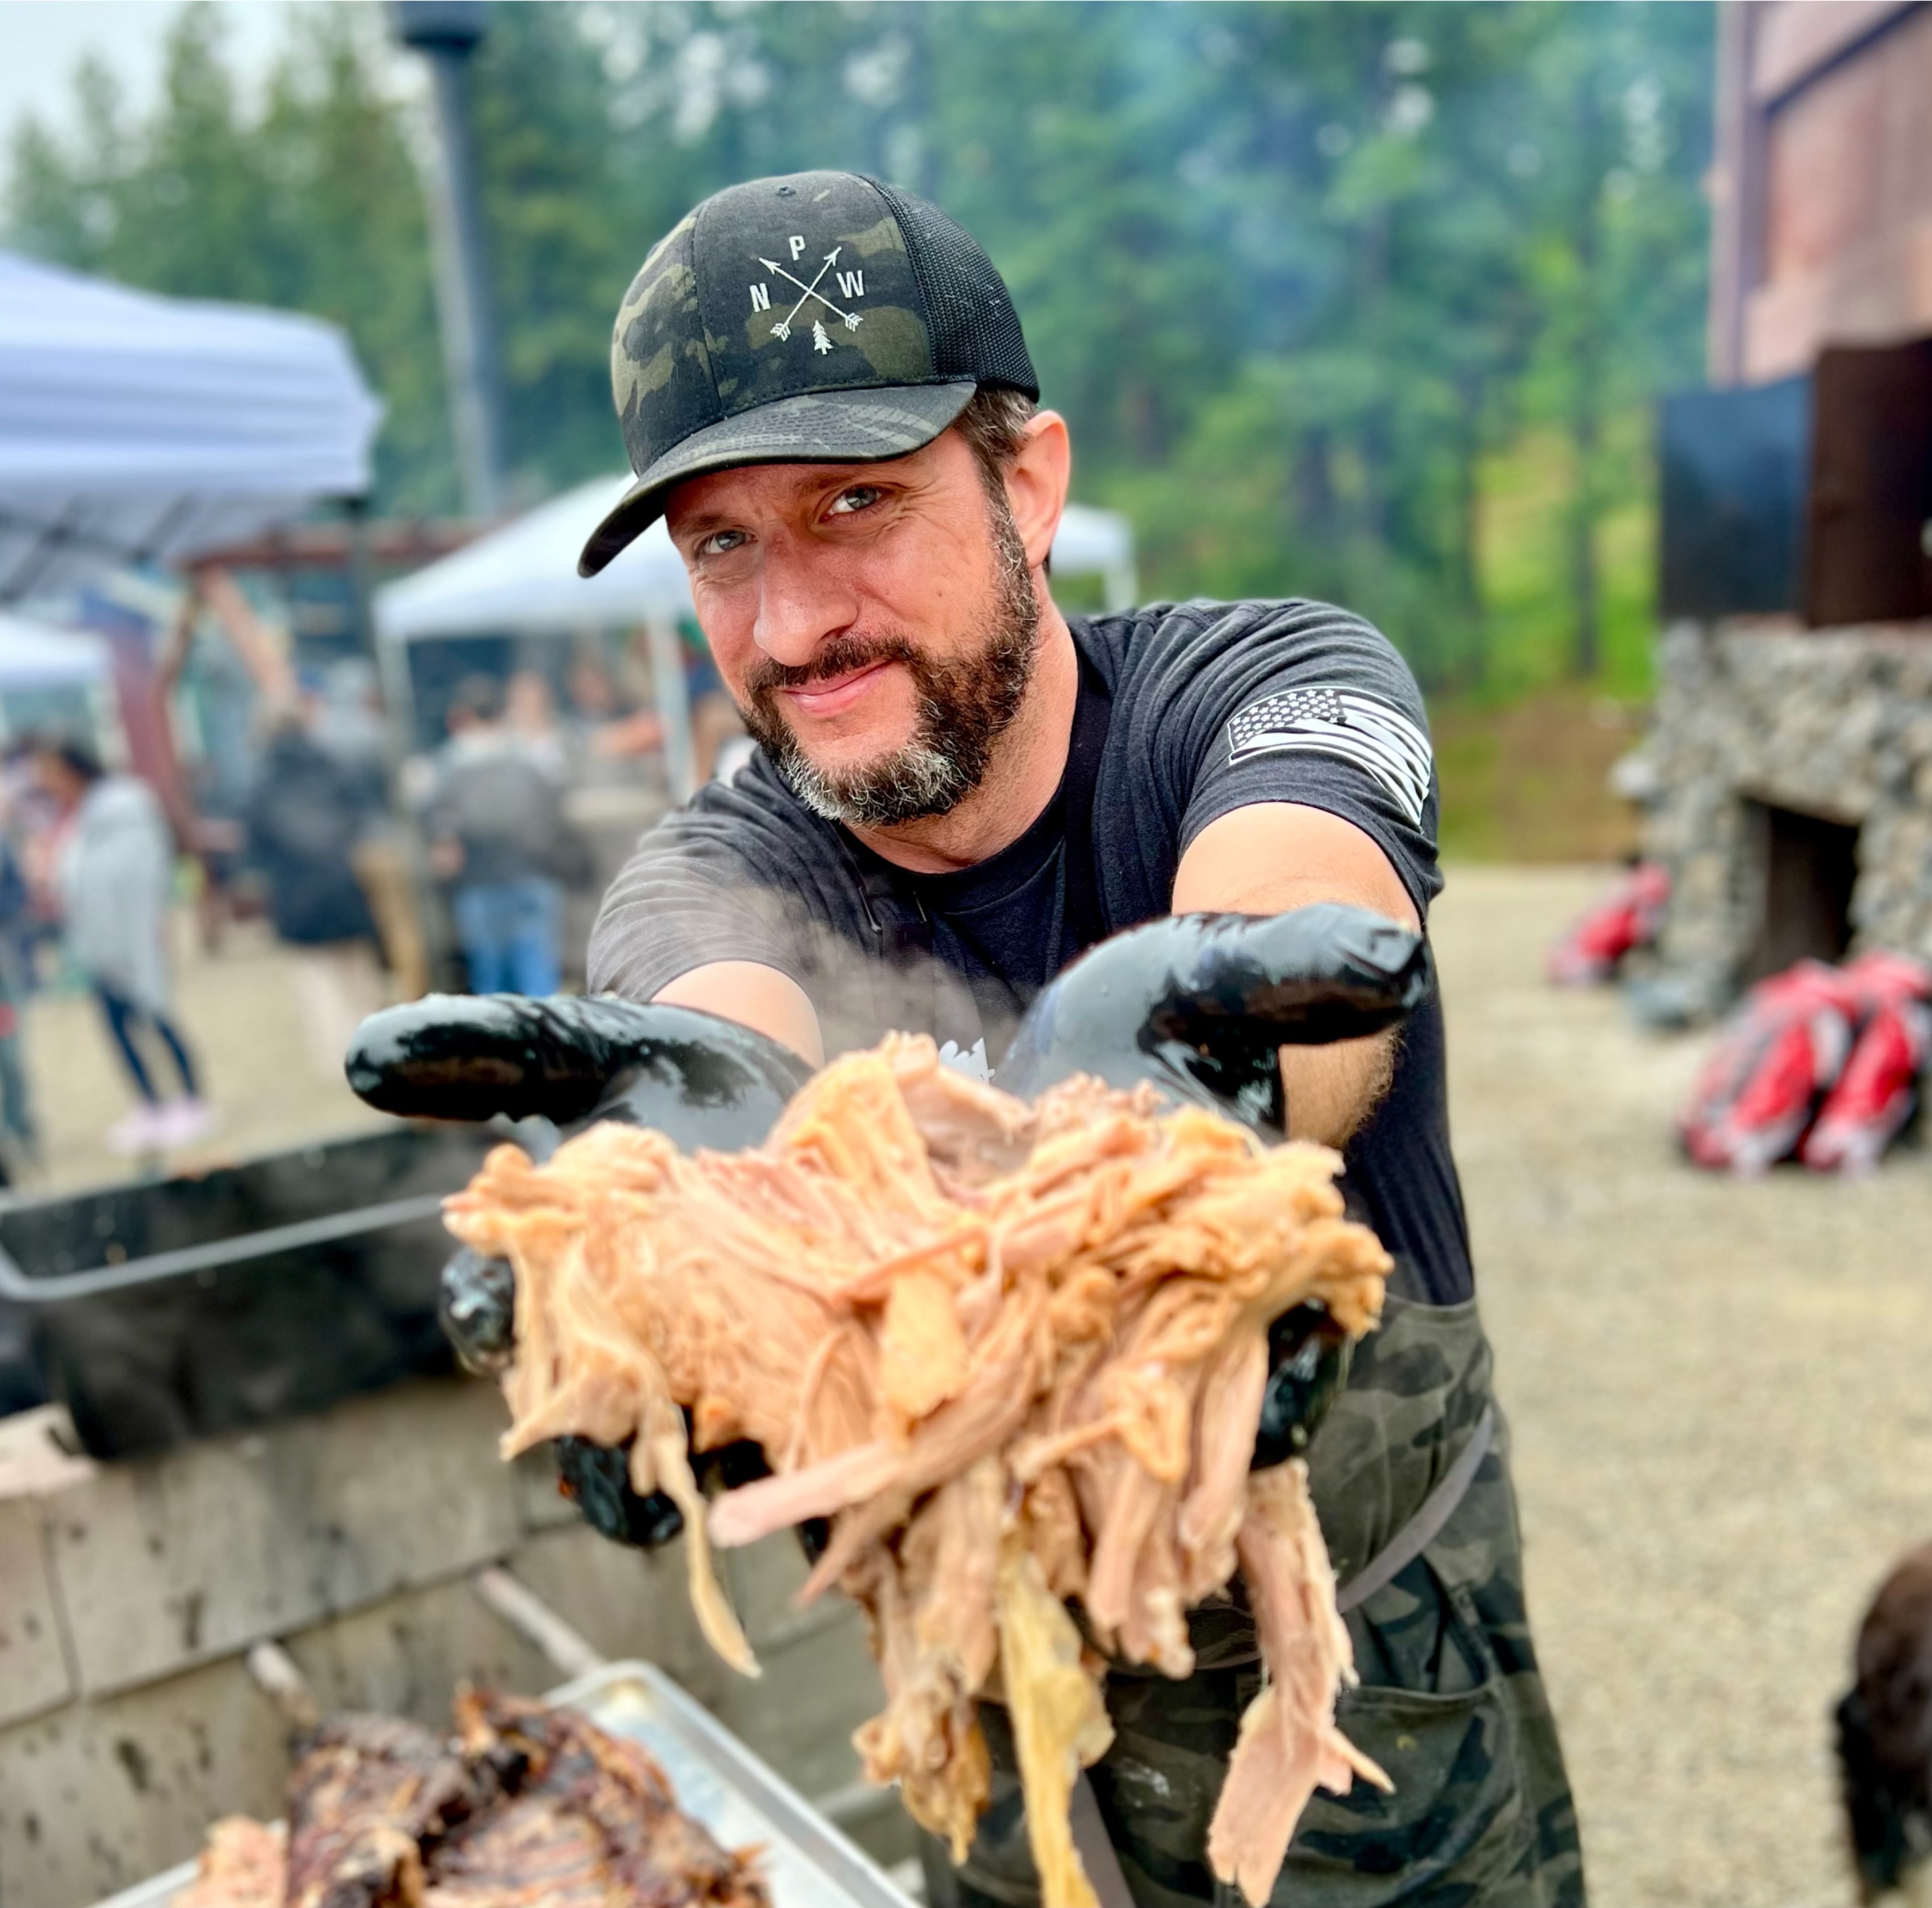
Whole briskets have two different sections of meat and the grains go different ways. I like to slice down the middle to separate where the point and the flat are, against the grain. Slicing against the grain makes for a more tender bite. Find the directions the grains go and slice the opposite way for the best meat experience.
Smoked Brisket for Beginners: Tips to Remember
Some say a good measure of a great brisket is the smoke ring and the color of the bark. While these features are aesthetically pleasing and quite photogenic, they don’t necessarily mean the brisket automatically tastes good. I’ve overcooked briskets that passed the eye test more than once. Also, I’ve had briskets with very little smoke ring and not as dark of bark but still tasted pretty good.
Bottom line is, go off of flavor. If it tastes good to you, then you did it right!
As a reminder, you can use the point portion of the brisket to cube up and turn into mouthwatering burnt ends! Enjoy!
Recipes Using Leftover Brisket
Breakfast Skillet with Brisket
The Smoked Brisket Recipe!

Smoked Brisket
Brisket is the king of all barbecued meats. It can be intimidating to cook due to the time and cost, but this recipe will guide you and make you look like a natural to your friends and family!
Ingredients
- 1 whole (or packer) brisket (11-14 lbs.)
- 3 Tablespoons kosher salt
- 3 Tablespoons ground black pepper
- 2 Tablespoon garlic powder
- 3 oz. beef broth (for spritzing)
Instructions
- Preheat grill/smoker to 250F using indirect heat and oak wood
- Remove brisket from packaging. Trim fat side of brisket down to 1/4 inch (boning knife preferred). Flip brisket over and trim off silver skin. Also trim off any random flaps of meat as they will burn during cooking.
- Mix kosher salt, pepper, and garlic powder together and apply on brisket.
- Place brisket on grill (fat side down for pellet grill and ceramic grills; fat side up for everything else). Spritz with beef broth a few times during cook. Wrap tightly in pink butcher paper when meat reaches internal temp in the 160s to accelerate cooking process. Let cook until internal meat temps reaches 203 degrees F.
- Remove brisket from grill, wrap in towel and place in well-insulated cooler to rest for at least two hours before slicing. When slicing, pencil thin is the ideal width.
Notes
- It's best to trim the brisket straight out of the refrigerator while it's cold due to the fat being more solid and easier to cut off.
- After seasoning brisket, one option is to let the brisket rest for about 30 minutes before putting on grill. Some do this to let the meat sweat a little and let the seasonings blend in.
- If you don't have oak wood, other woods such as hickory or mesquite will work too (I like pecan with beef, as well)
- Measure internal meat temps by placing digital thermometer into the spot where the point and flap overlap. Push thermometer halfway in.
Nutrition Information:
Yield: 20 Serving Size: 4 ozAmount Per Serving: Calories: 330Total Fat: 21gSaturated Fat: 8gTrans Fat: 0gCholesterol: 120mgSodium: 120mgCarbohydrates: 0gFiber: 0gSugar: 0gProtein: 32g